Jump to:
- Hydrangea Basic Info
- When to Plant Hydrangeas
- Where to Plant Hydrangeas
- How to Plant Hydrangeas
- What to Do If Your Hydrangea is Pot-Bound
- How Often to Water Hydrangeas
- Do Hydrangeas Need Fertilizer?
- Should I Prune Hydrangeas?
- Deadheading Hydrangeas
- How to Grow Hydrangeas in a Pot
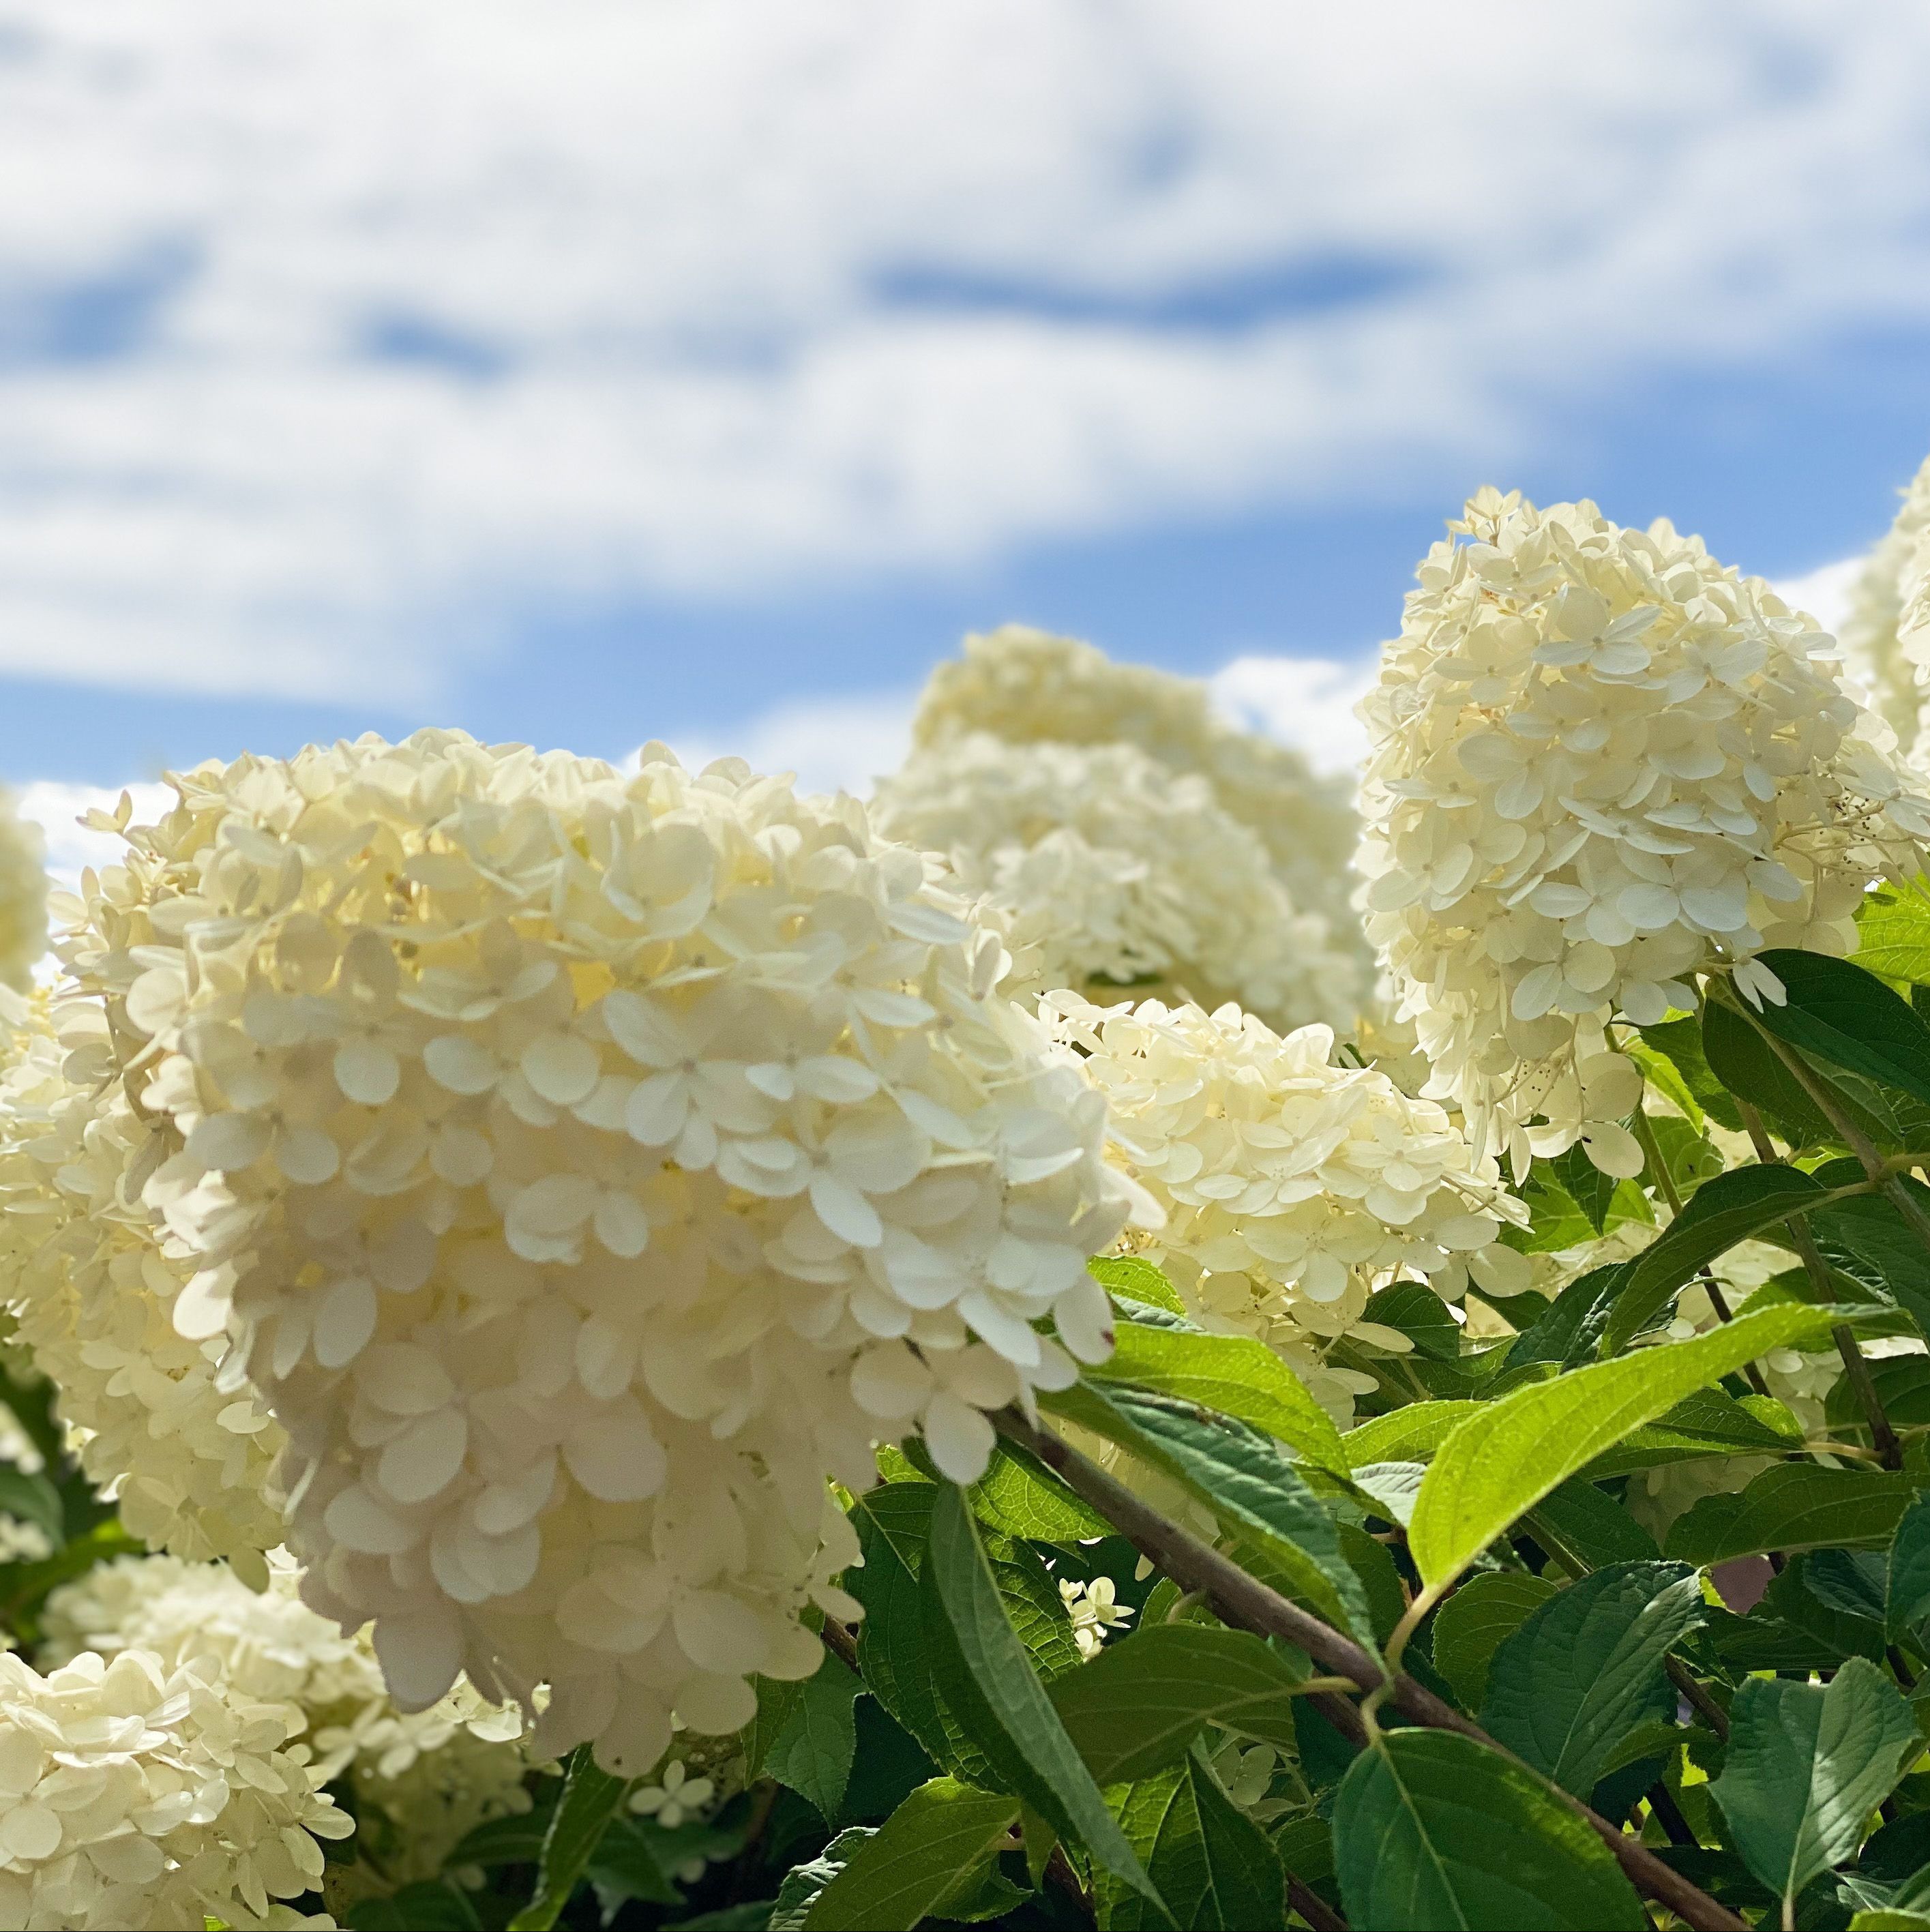
Hydrangeas are one of the most popular garden plants. It’s easy to see why: Not only are they simple to grow, but they produce loads of beautiful blooms.
There are five main types of hydrangeas, and while they all require a similar growing environment, there is enough variety to guarantee that no matter where you live there will be a hydrangea that will flourish in your yard.
Whether you want to plant a hydrangea in a pot (Yes, you can do this!) or need to know when to prune them, we have all the answers for you. So get your gardening shoes on, pull out your garden plan, and head outside!
Hydrangea Basic Info
- Common Name: Hydrangea
- Botanical Name: Hydrangea spp.
- Plant Family: Hydrangeaceae
- Type of Plant: Shrub, tree, or vine
- Native Origin: Asia and the Americas
- Sun Exposure: Full sun to part sun, depending on variety and location
- Preferred Soil Type/PH range: Depends on variety and bloom color preference
- Mature Size: 1 to 5 feet for dwarf varieties. Up to 80 feet for vine varieties
- Flower color: Pink, purple, blue, white, green, and variegated
- Toxic to pet: Yes, if ingested
- Hardiness Zones: 3 to 9
When to Plant Hydrangeas
You can plant hydrangeas in the spring soon after the last frost, or in the fall when the nights have turned cool but before there is any chance of frost. Planting when the temperatures are cooler will help give the plant time to establish a strong root system before the heat of the summer or the first winter frost.
Where to Plant Hydrangeas
Hydrangeas prefer to grow in spots that get full sun in the morning and partial sunlight in the afternoon. While they can handle all day sun, they will require extra watering during hot spells in warmer areas, such as USDA Hardiness Zones 8 or higher. (Find your zone here.) Hydrangeas can also grow in shaded areas, but their bloom production will be hindered.
How to Plant Hydrangeas
While they can grow in any type of soil hydrangea grow best in soil that is hummus-rich. If your soil has a high clay content it can help to amend it with compost and organic matter before planting. (Here are some tips for composting at home.)
It’s also important to look at the grow tag to see how big the mature plant will be and the spacing recommendations.
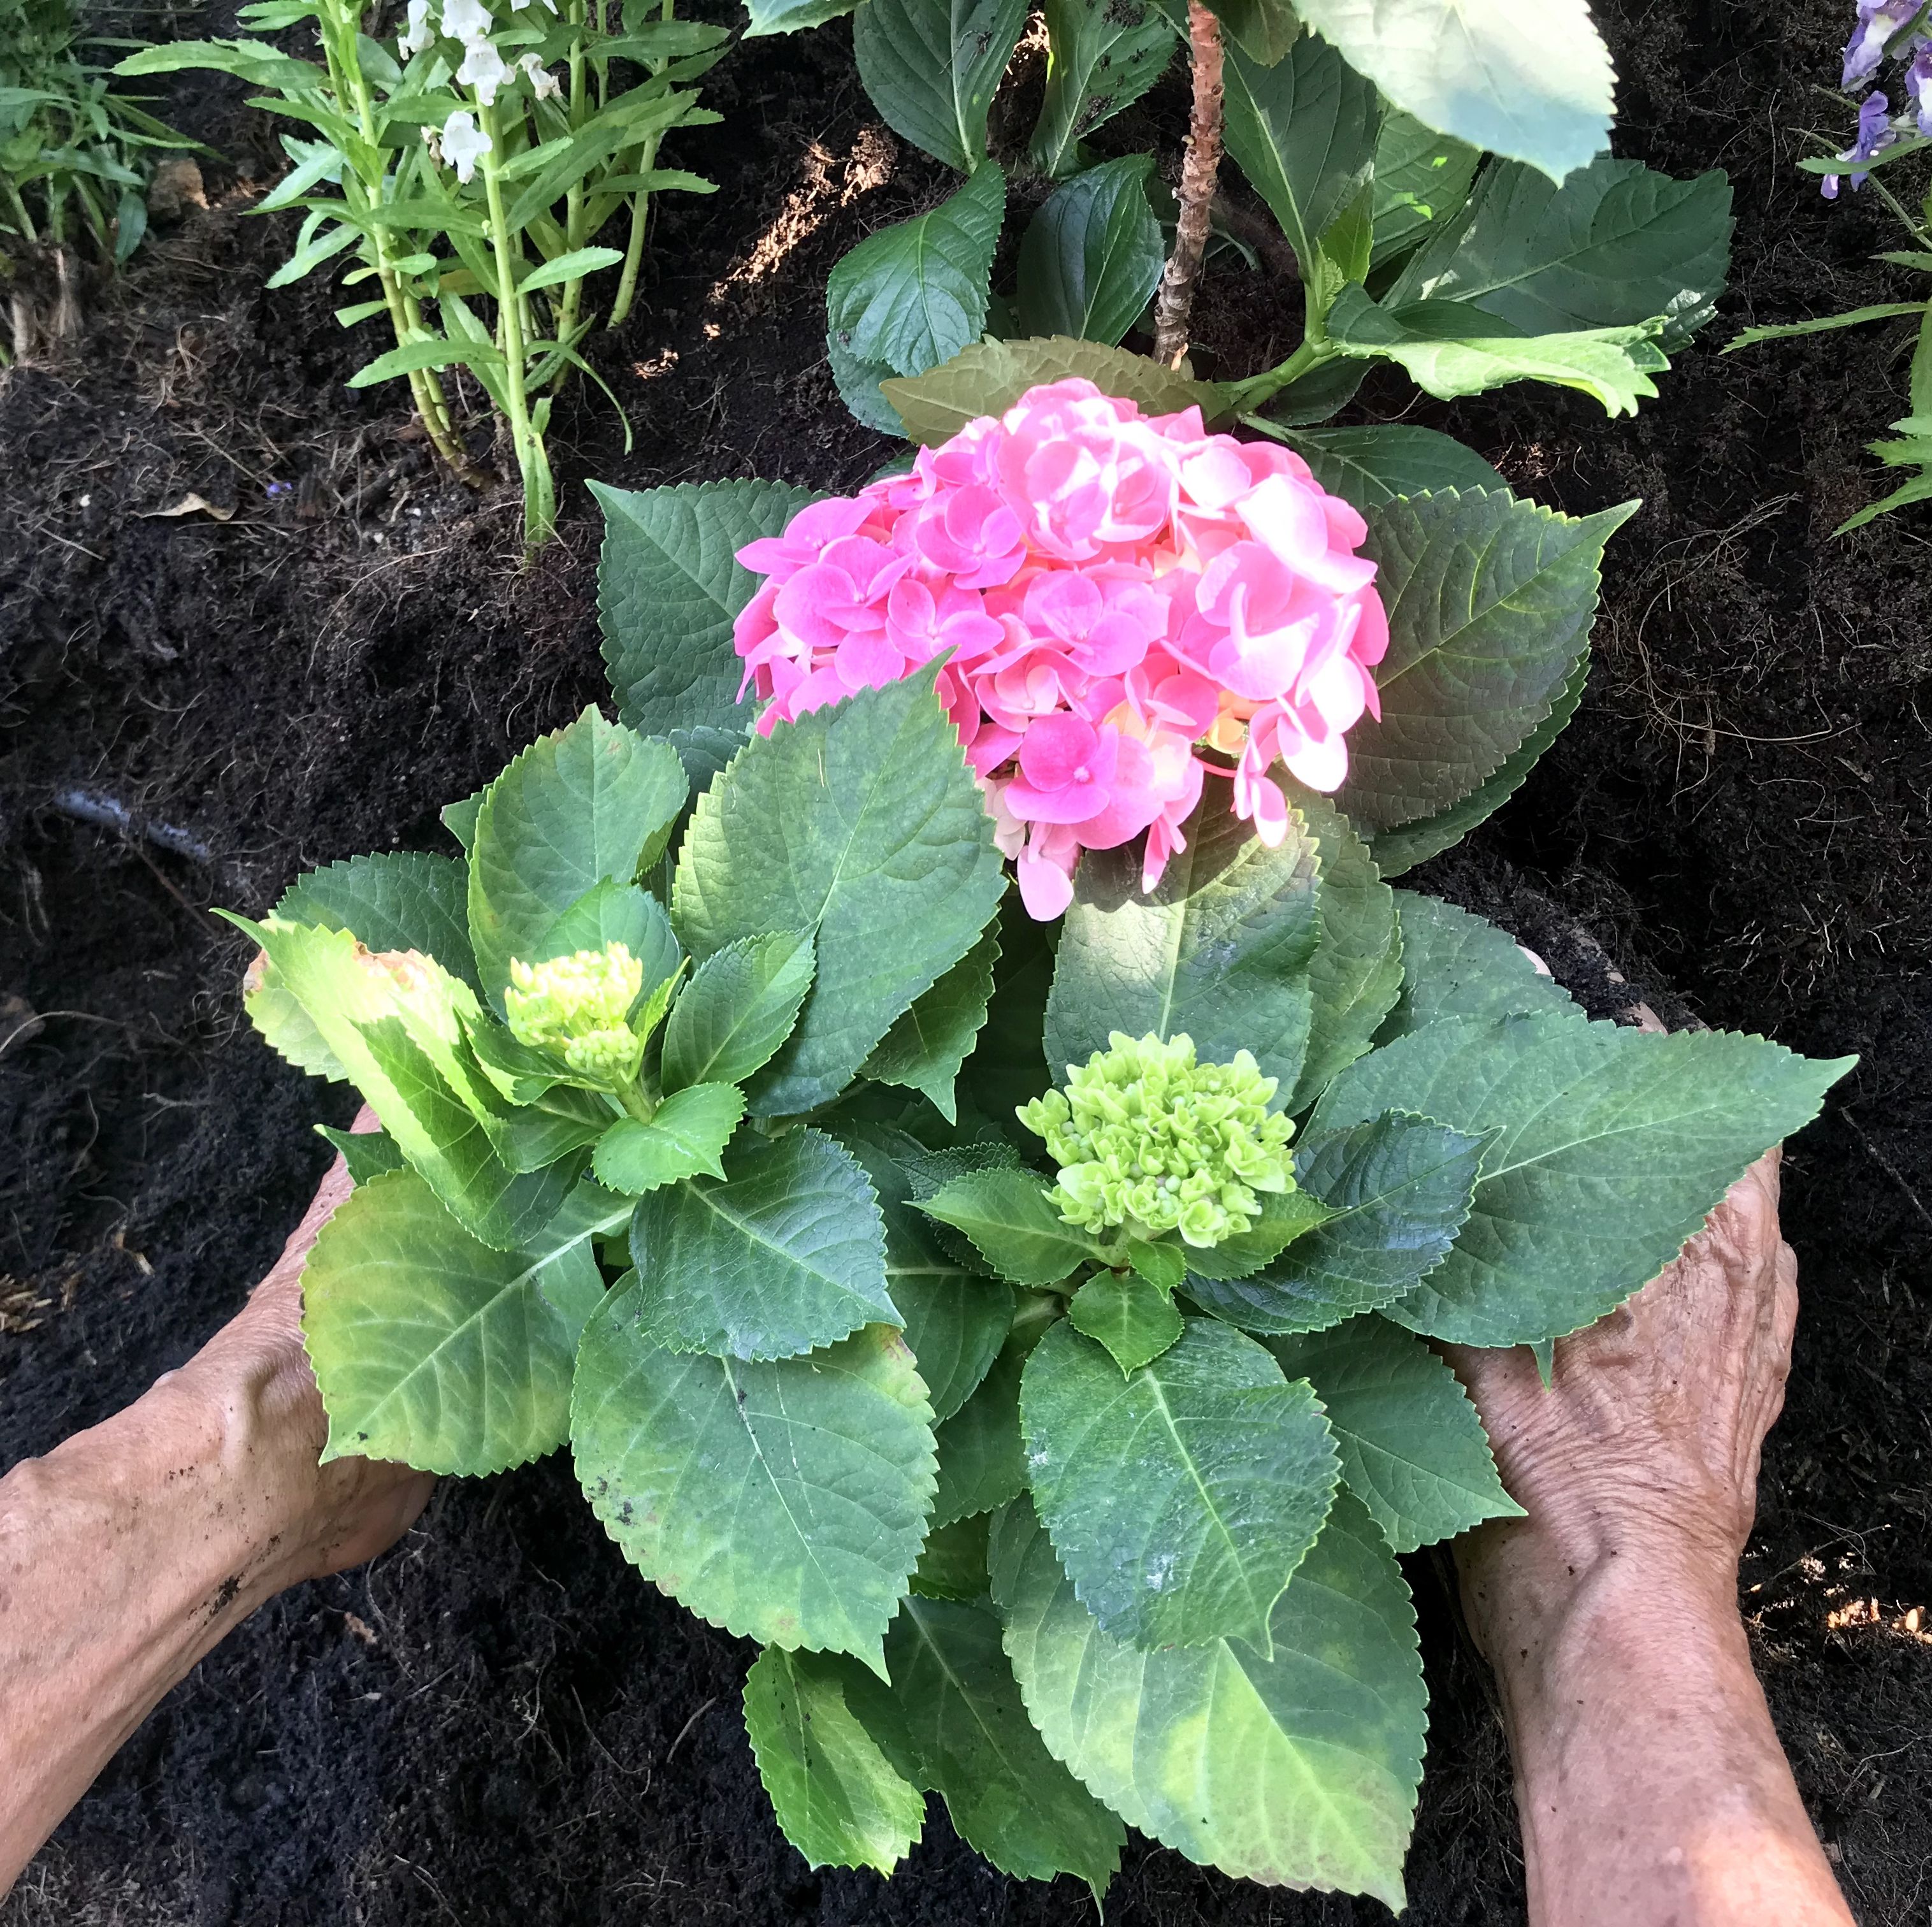
Once you have chosen your location and amended the soil you are ready to plant! Start by digging a hole that is twice the width, and the same depth as the container. Set the plant in the hole so that the top of the root ball is the same height or ever-so-slightly higher than the soil surface.
Back fill in the hole halfway with the soil and water generously. Once the water is absorbed fill the hole with soil and water again. Because hydrangeas have shallow root systems, mulch well after planting to prevent them from drying out.
What to Do If Your Hydrangea is Pot-Bound
If a hydrangea (or any plant) is kept in its container too long without planting or transplanting to a larger pot, it can become pot-bound. This is when the roots begin to circle back on themselves. While it’s not a big problem at first, if this is left too long, it can harm the plant. Luckily, it’s easy to fix.
“When the roots are circled around inside the pot, loosen them up and spread them out by scoring [them] with a knife or separating gently with your fingers before planting,” says Peter Kruger, Director of Global Product Sourcing & Development for Ball Horticulture. “It may seem harsh, but it actually generates more root growth to help the plant get established.”
How Often to Water Hydrangeas
Newly planted hydrangeas need plenty of water to get established. Be sure to water frequently for the first year or two. Established plants like moist soil during the growing season. If it hasn’t rained in a while water your plants deeply one to two times per week. Watering deeply will ensure that the water moistens the entire root system.
Do Hydrangeas Need Fertilizer?
Fertilizer can make up for deficiencies in your soil’s nutrients—for details on this, read our explainer on what fertilizer numbers mean.
The best way to determine if your soil needs fertilizer is to run a soil test. The university cooperative extension closest to you should be able to run a soil test, to let you know what nutritient levels are like. (Find your nearest cooperative here.)
For most gardeners, however, there is little need to apply fertilizer before planting hydrangeas. However, there is one fun trick: adjusting your soil’s ph balance can change the color of some plants’ blooms.
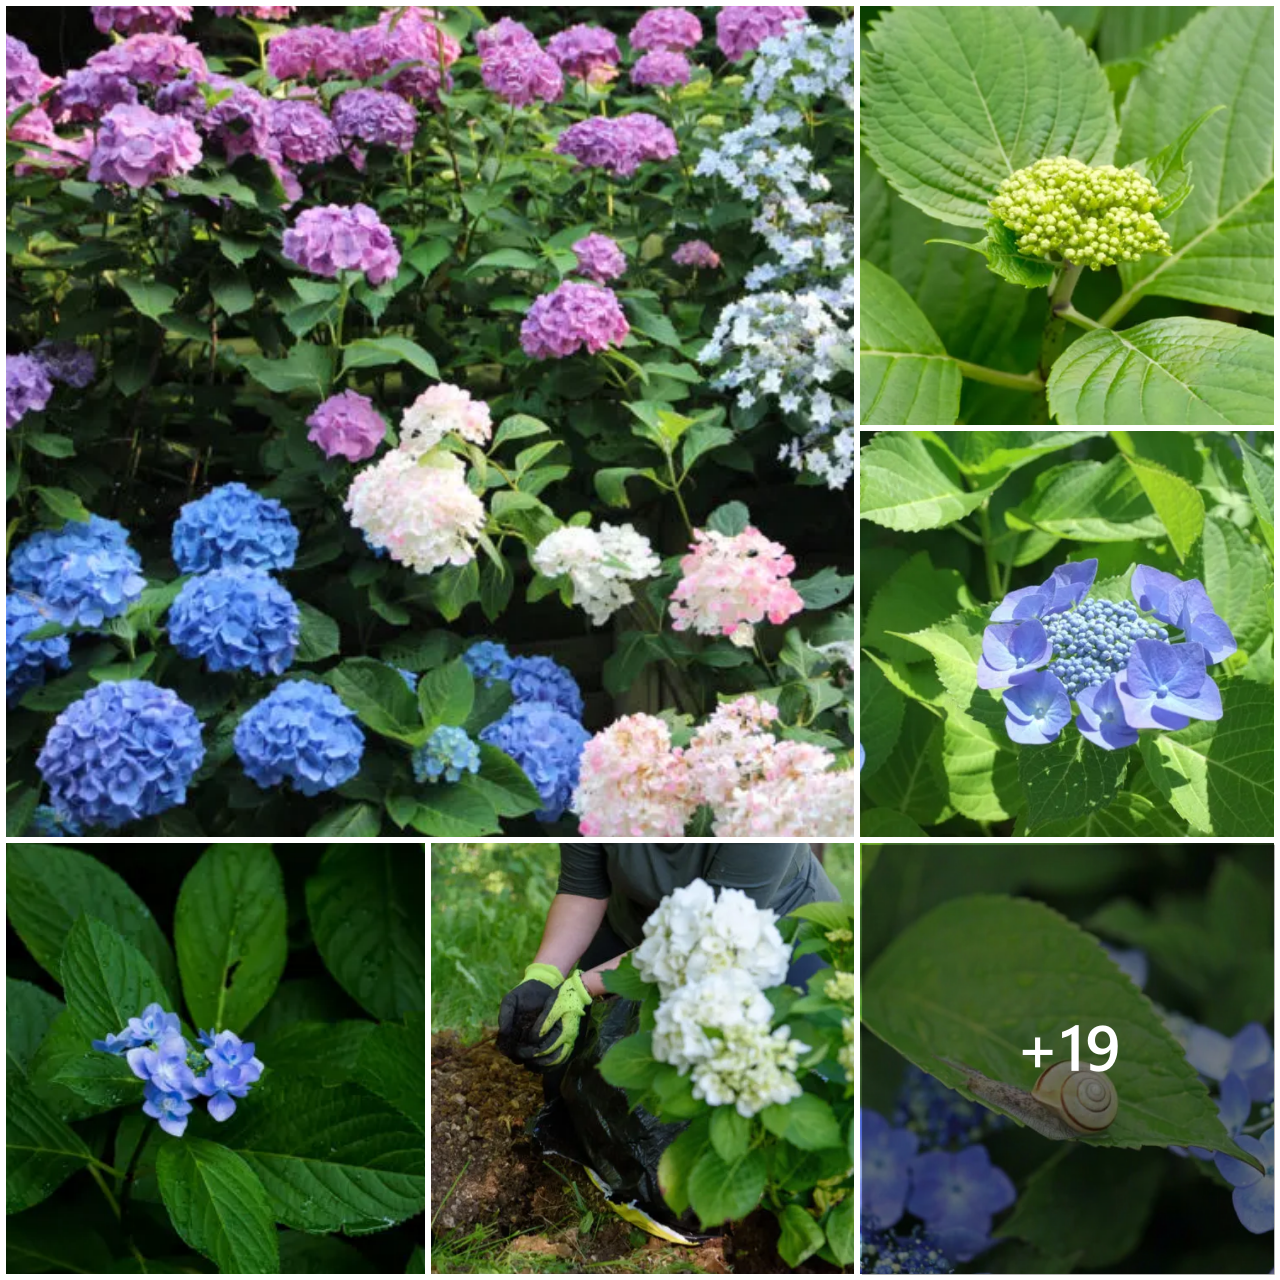
Lacecap and mophead hydrangeas will grow blue blooms in soil that is more acidic. In alkaline soil, the blooms will be pink. (If your soil is neutral, the bloom color could go either way.)
If your blooms are pink but you want them to be blue, try sprinkling a soil acidifier around the plant and water it in.
If you want them to be pink, add a garden lime instead. Note that this transformation may take a year or so to take effect.
If you do want to apply fertilizer, it’s best in the early spring. A few varieties, like bigleaf and smooth hydrangeas, will benefit from a second application of fertilizer in mid-summer
Should I Prune Hydrangeas?
This is one of the most common questions and one of the trickiest to answer!
Pruning helps maintain the size and shape of your plant but if done at the wrong time will reduce blooms, or even prevent plants from blooming.
Some hydrangeas only bloom on branches that grew the previous year, or on what are called “old wood.” Others only bloom on “new wood” — branches that are part of this year’s growth. Some hydrangeas will bloom on both old and new wood.
To figure out how your hydrangea blooms, simply research the variety.
Varieties that bloom on new growth (such as panicle and smooth) should be pruned in the late winter or early spring.
Varieties that bloom on old wood (such as bigleaf and oakleaf) should be pruned as soon as the blooms have faded. Varieties that bloom on both type of wood (also called reblooming hydrangea) should be pruned after the blooms are spent.
Deadheading Hydrangeas
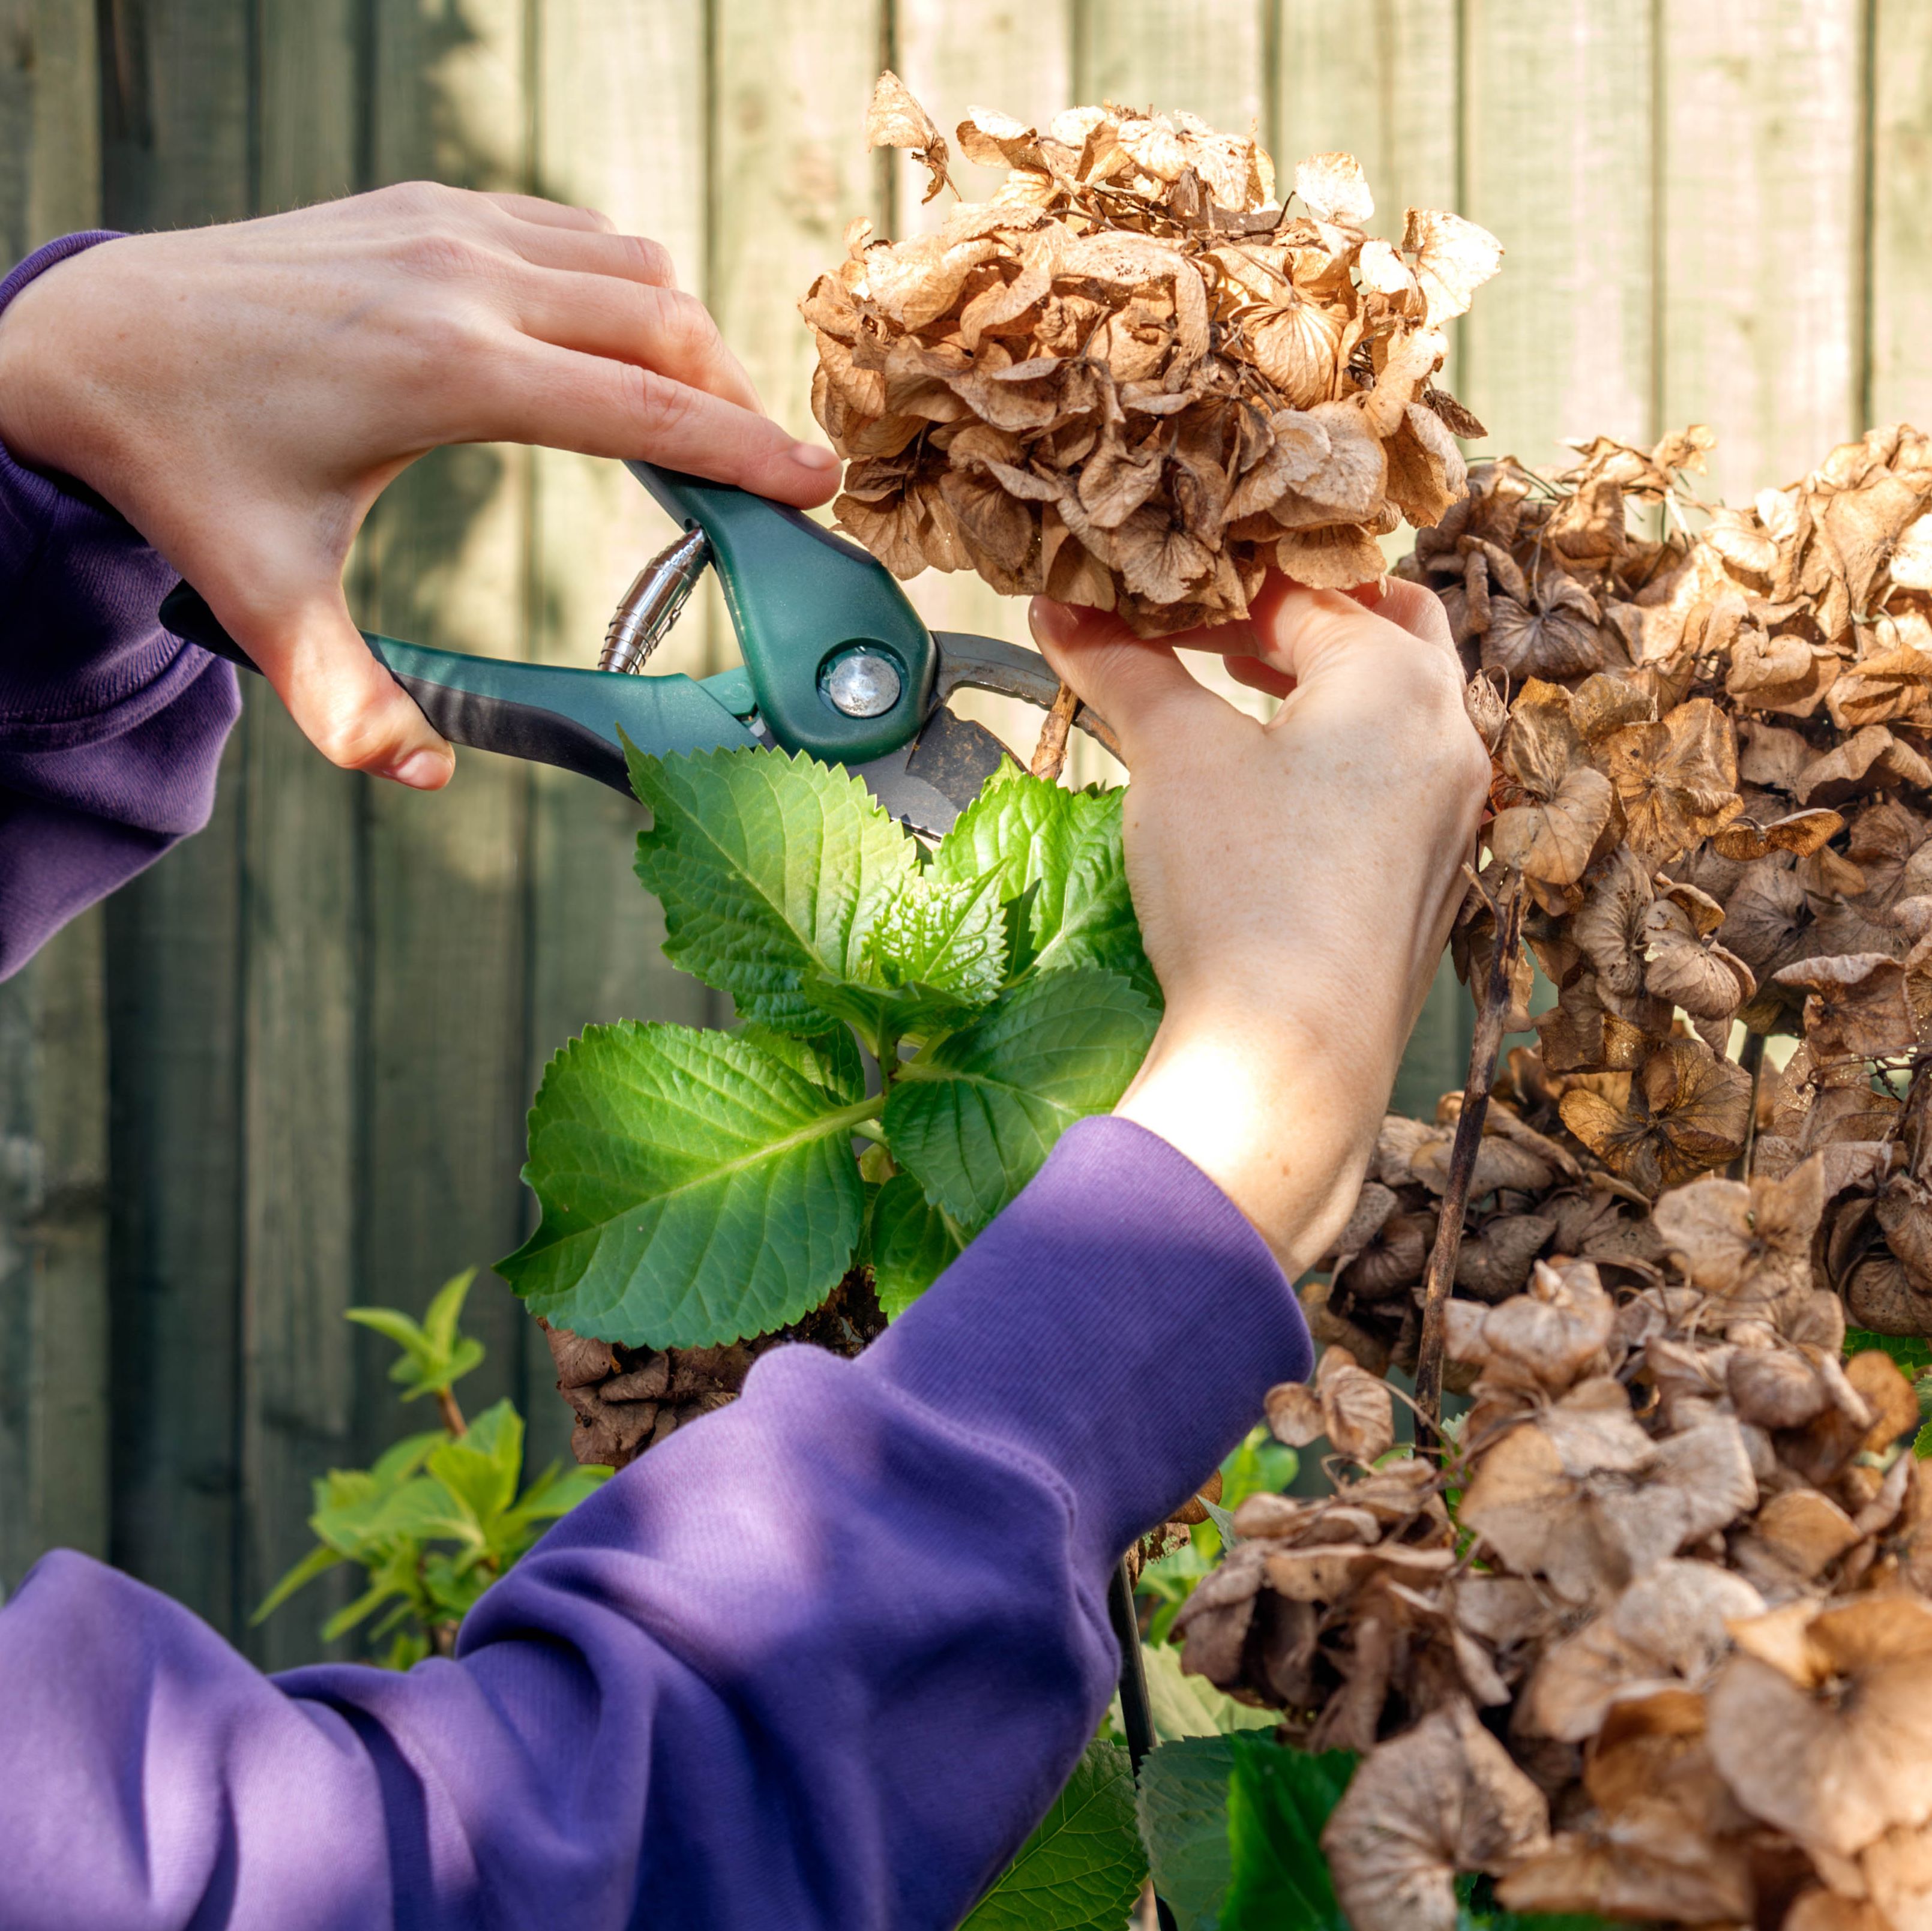
It can be helpful to deadhead, or cut spent blooms off your hydrangeas, to increase blooming but it isn’t necessary. And, leaving some blooms in place in the late fall can add beauty to a winter garden.
Read more on deadheading plants, here.
Deadheading is different than pruning and won’t affect future blooms or hurt the plant. To deadhead, follow the spent bloom down to the first set of full-sized leaves and cut above 1/2-inch the leaves.
How to Grow Hydrangeas in a Pot
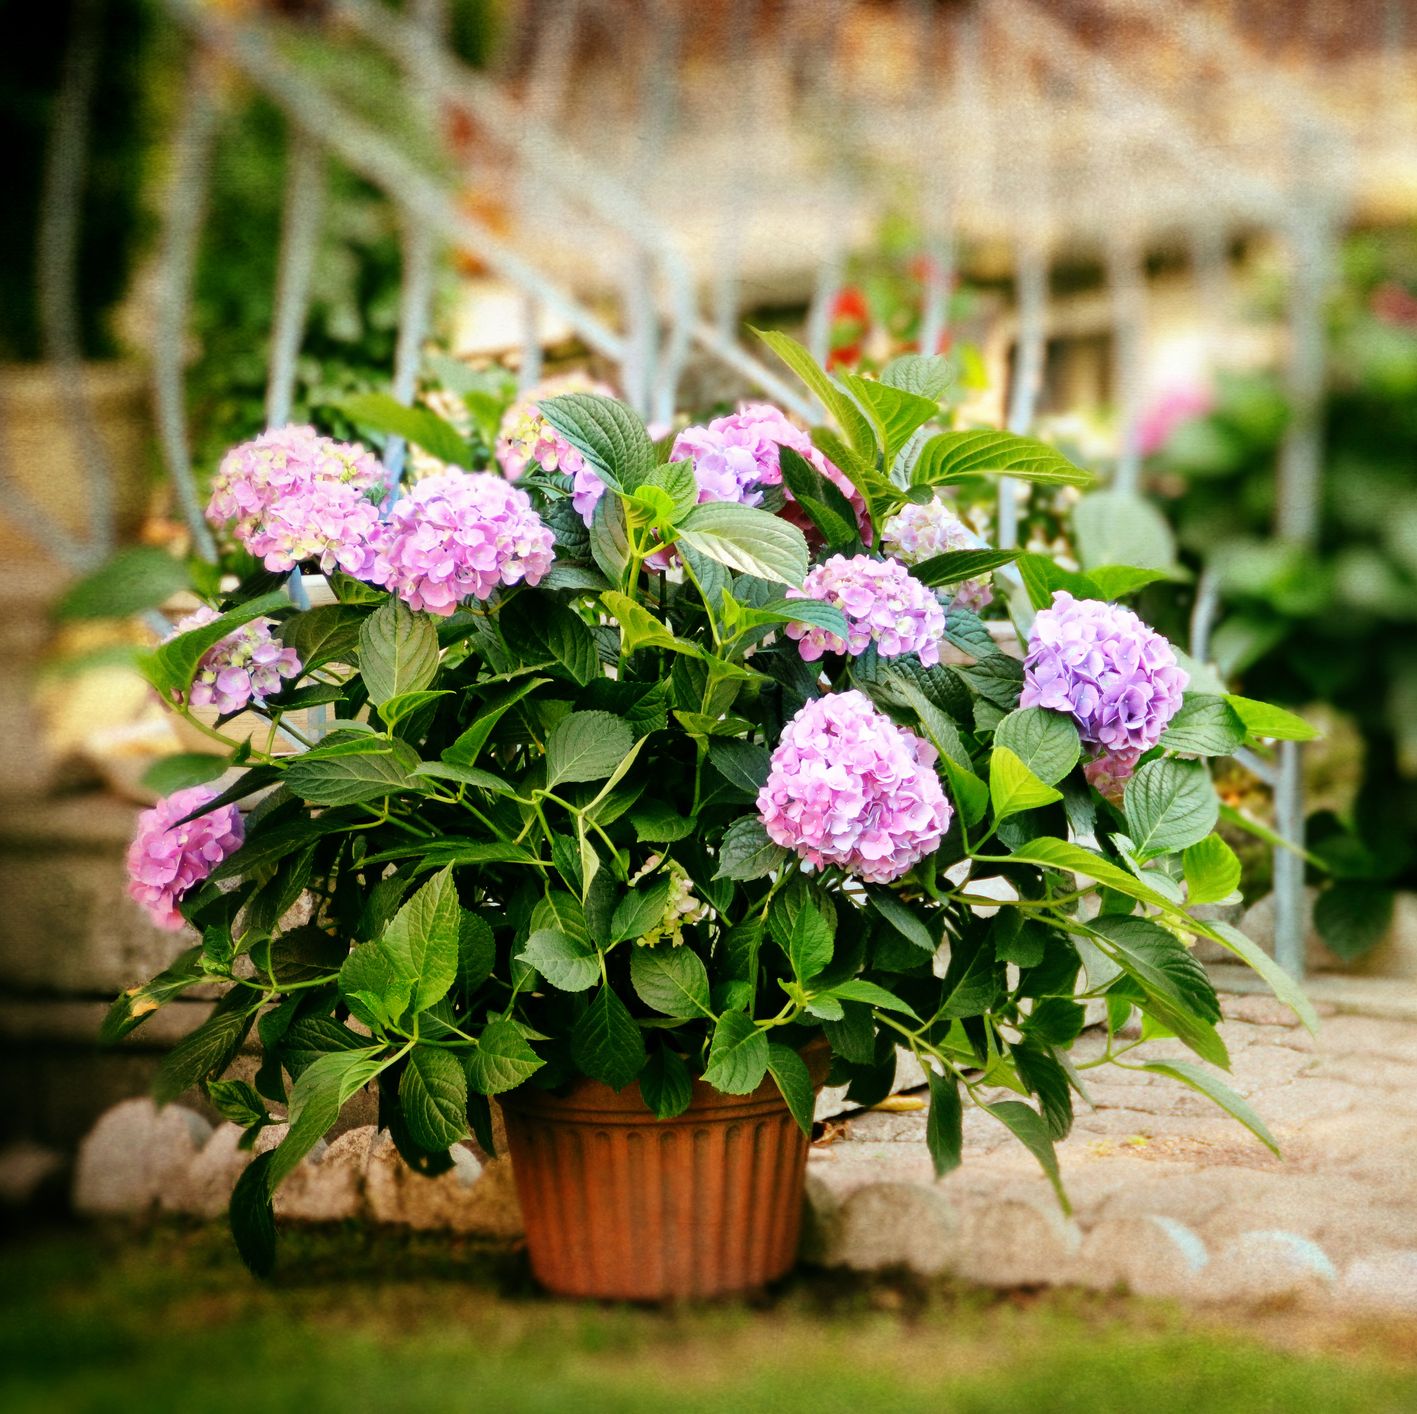
Hydrangea grow well in pots and are ideal for small spaces such as porches or patios. When planting a hydrangea in a pot, start by choosing the vessel.
Ideally it will be one that is frost or weather-proof (this will ensure that it doesn’t crack during the winter) and that is at least 16-inches, but ideally 24-inches in diameter. (Here’s one we recommend.)
Once filled, a pot this size will be very heavy so consider putting it on rollers if you want to be able to move it.
Next pick your plant. While any hydrangea can grow in a pot, to minimize how often you need to prune it choose a compact or dwarf variety.
Next, fill the pot with enough soil so that when you place the plant in the pot it sits about 2-inches below the rim. Place the hydrangea in the pot and fill around the plant with soil until it reaches the level of the rootball. Water thoroughly! Add additional soil if it sinks after watering.
The soil in pots dries out quickly so be sure to check the moisture level often. If the top inch of the soil feels dry, water until the water runs out of the bottom of the pot. Follow the same fertilizing routine as a plant that is in the ground.
And lastly, don’t move potted hydrangeas indoors during the winter. They need to go through their regular winter dormancy (in which temperature is a factor) in order the bloom.
If, after a few years, you notice the plant is no longer growing or blooming, it may mean that it’s time to repot the plant in a bigger pot with fresh soil.
Charlyne Mattox is Food and Crafts Director for Country Living.
